

Easy No Sew Fashion Tips
Posted by Expo Trims on Apr 10th 2019
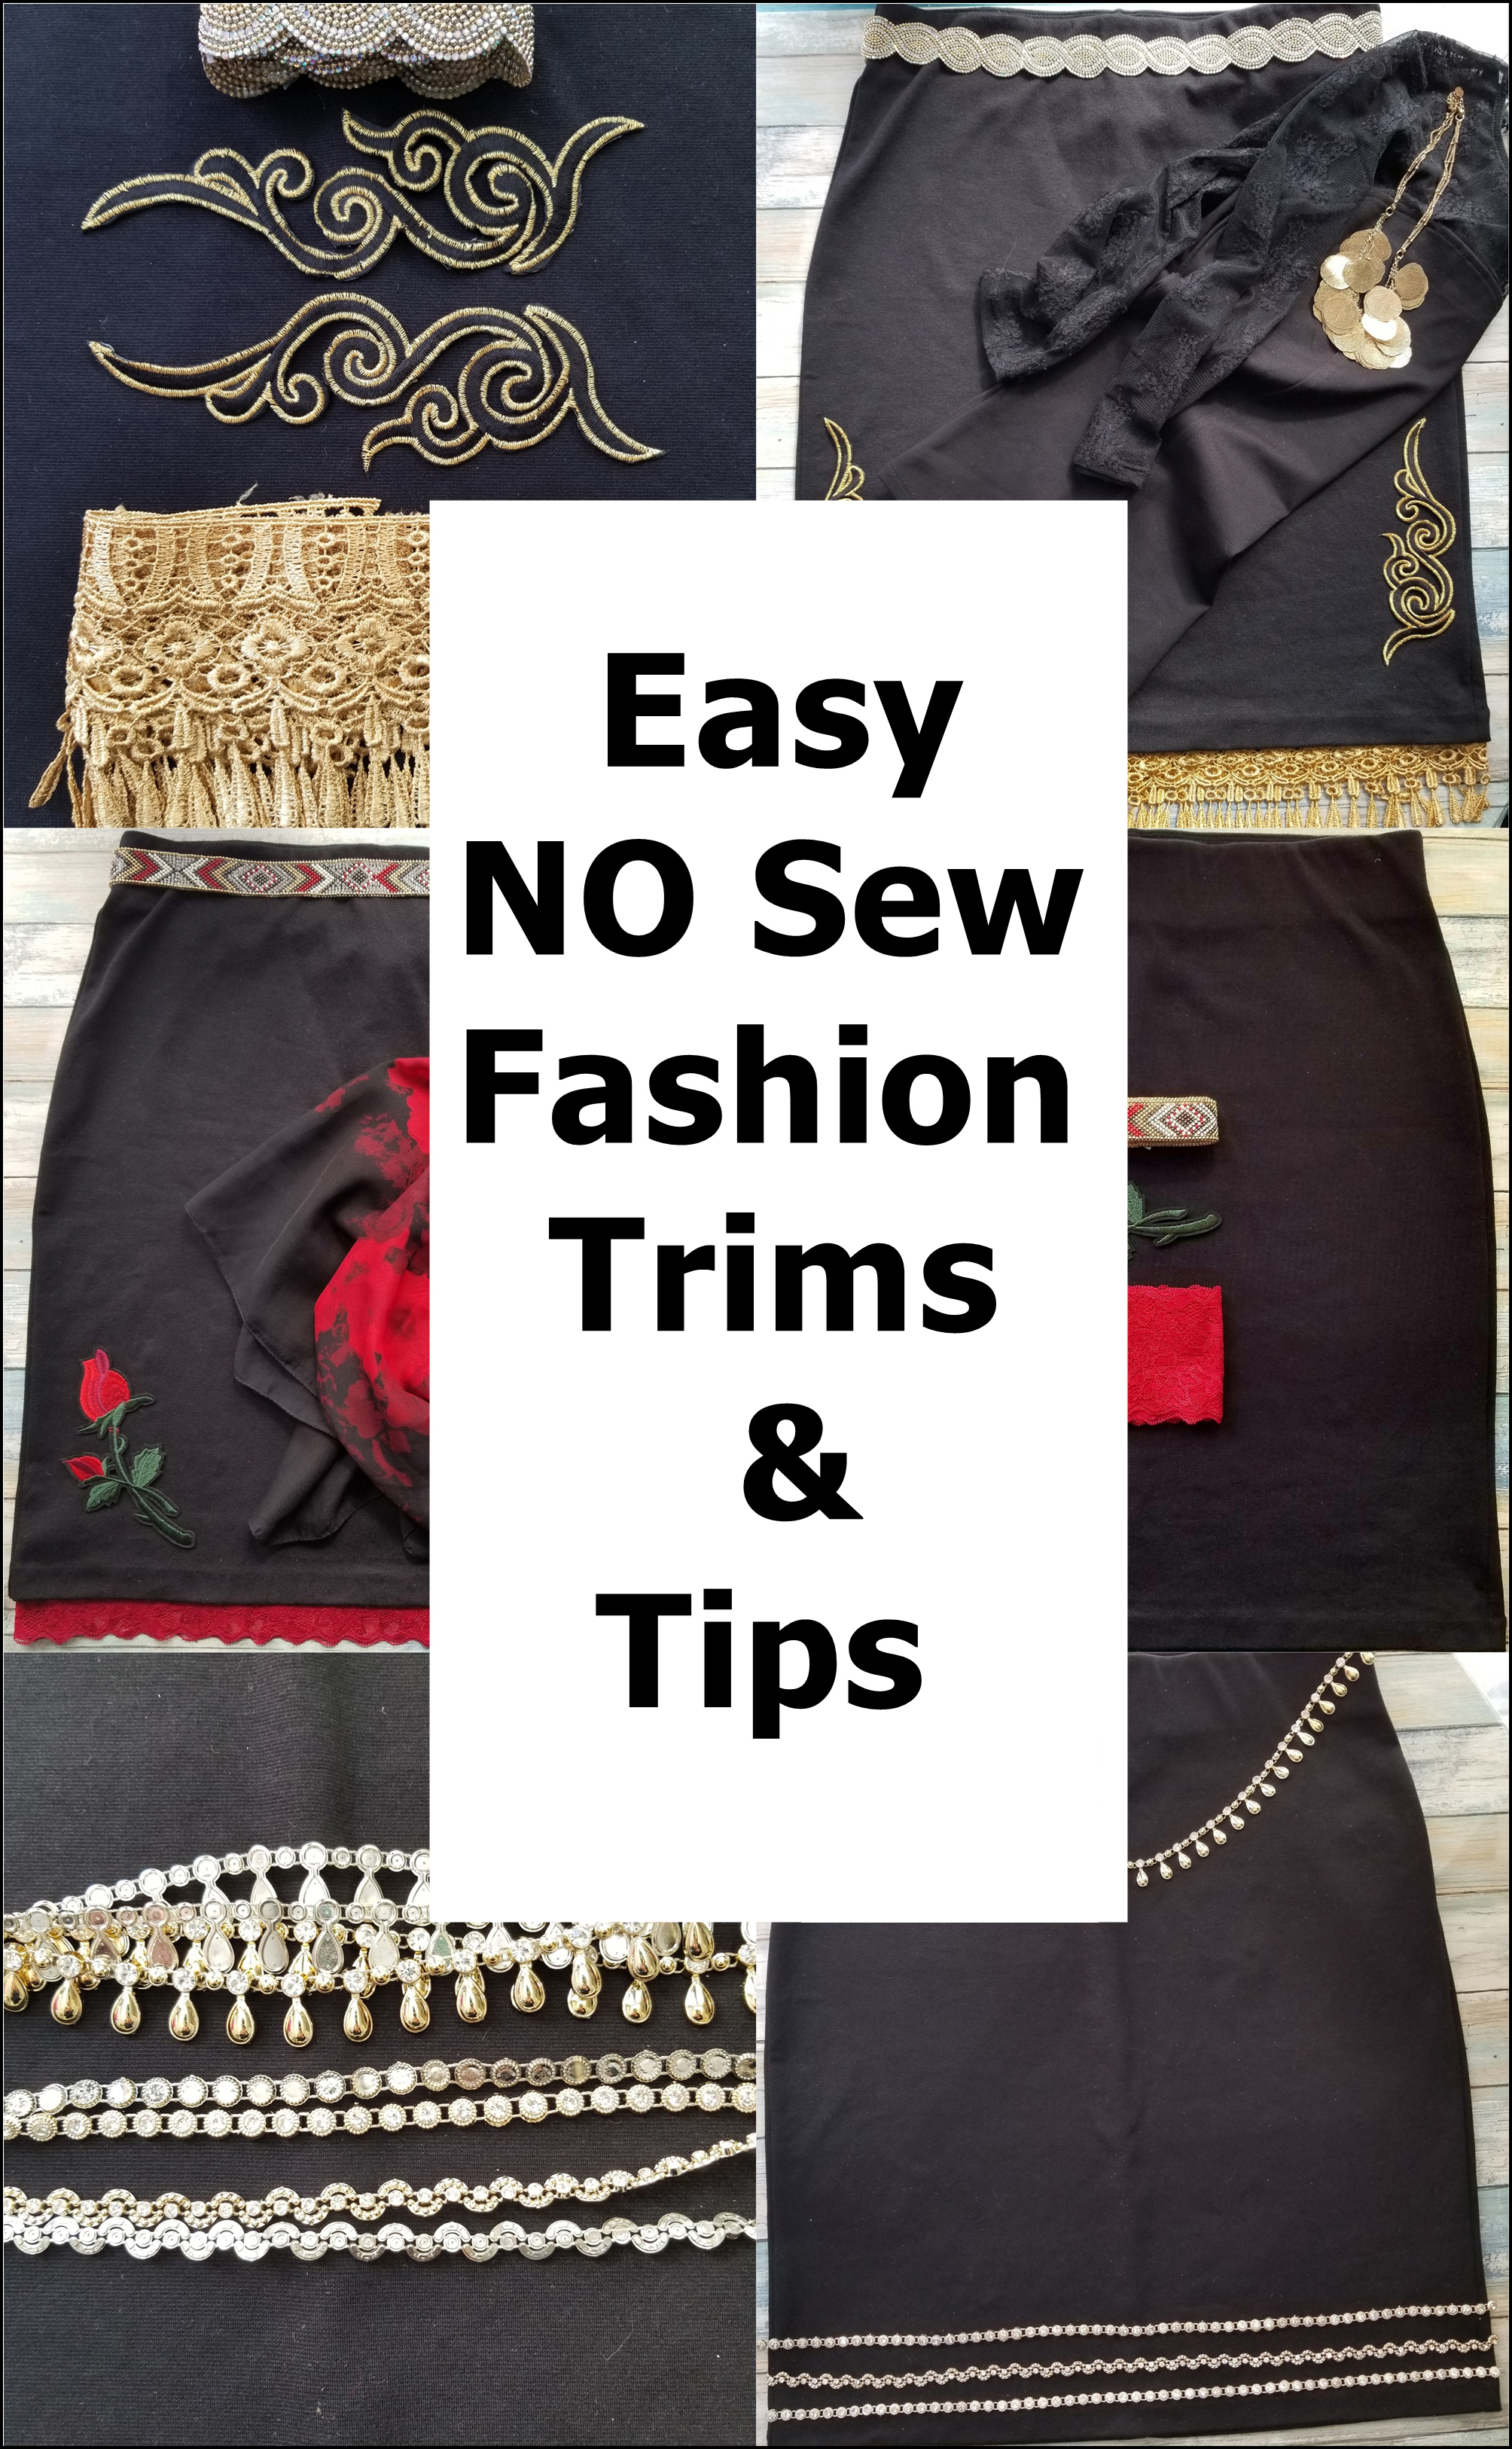
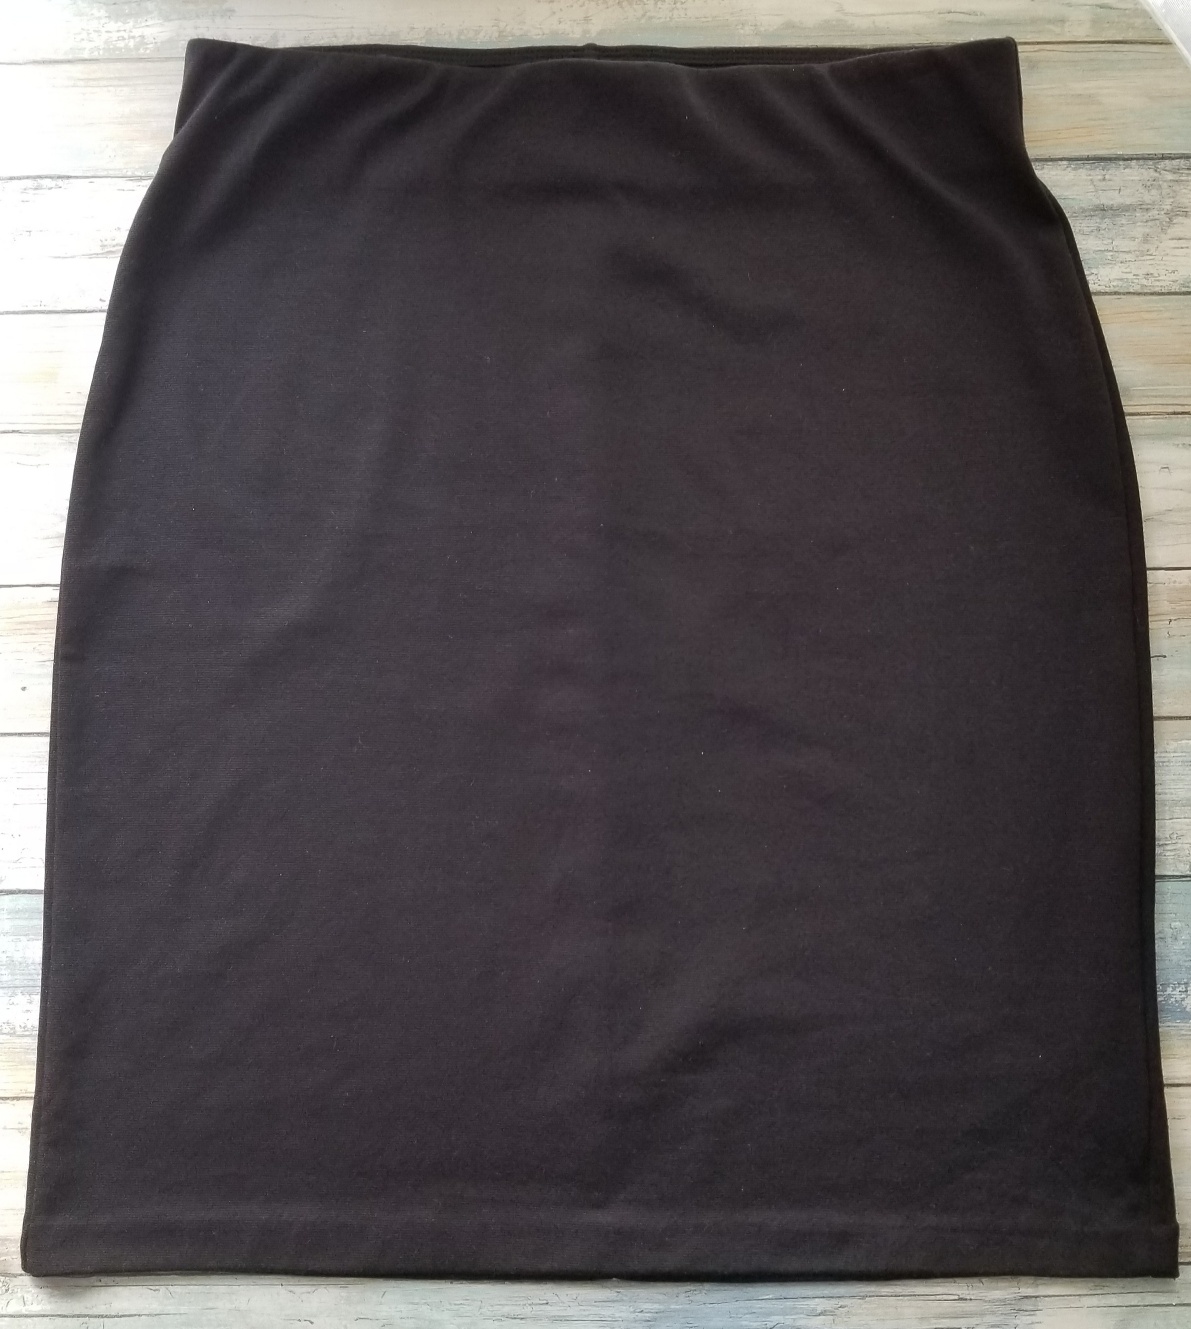
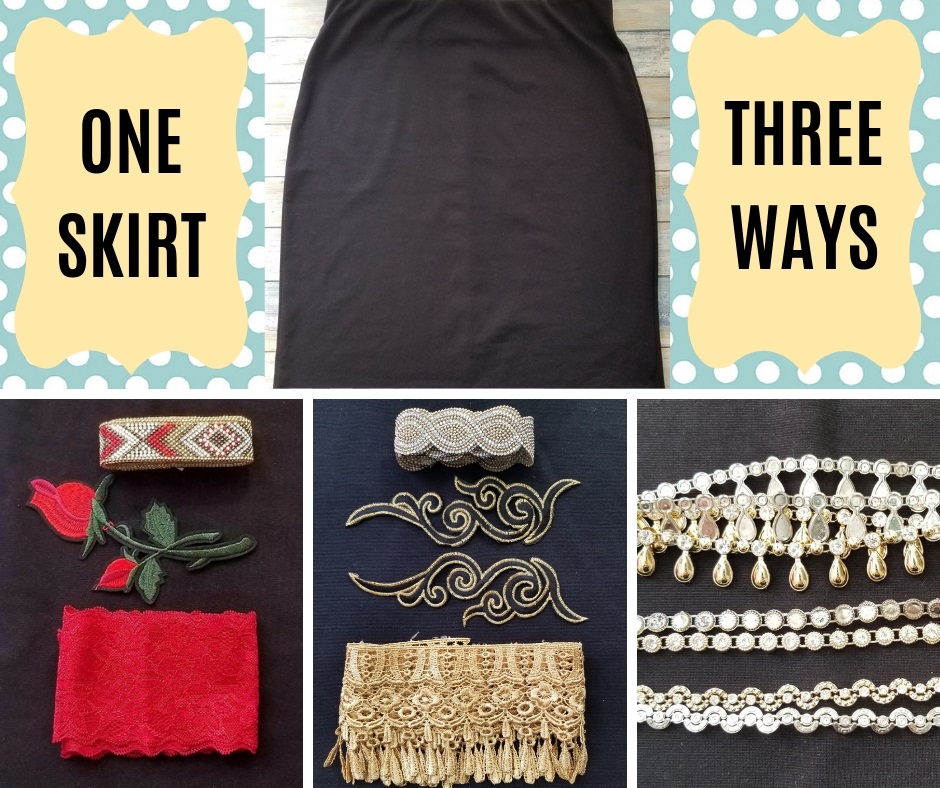
There are many choices in beautiful trims to add a distinctive style to a garment. You may love fashion, love to DIY but may not be a sewer. There are so many trim options now that can be simply ironed on or adhered with a fabric glue to a ready made garment. I took a plain little black skirt and added trims to give it three different looks. I am sharing tips and techniques so you will have success with your own DIY fashion.
What You'll Need:
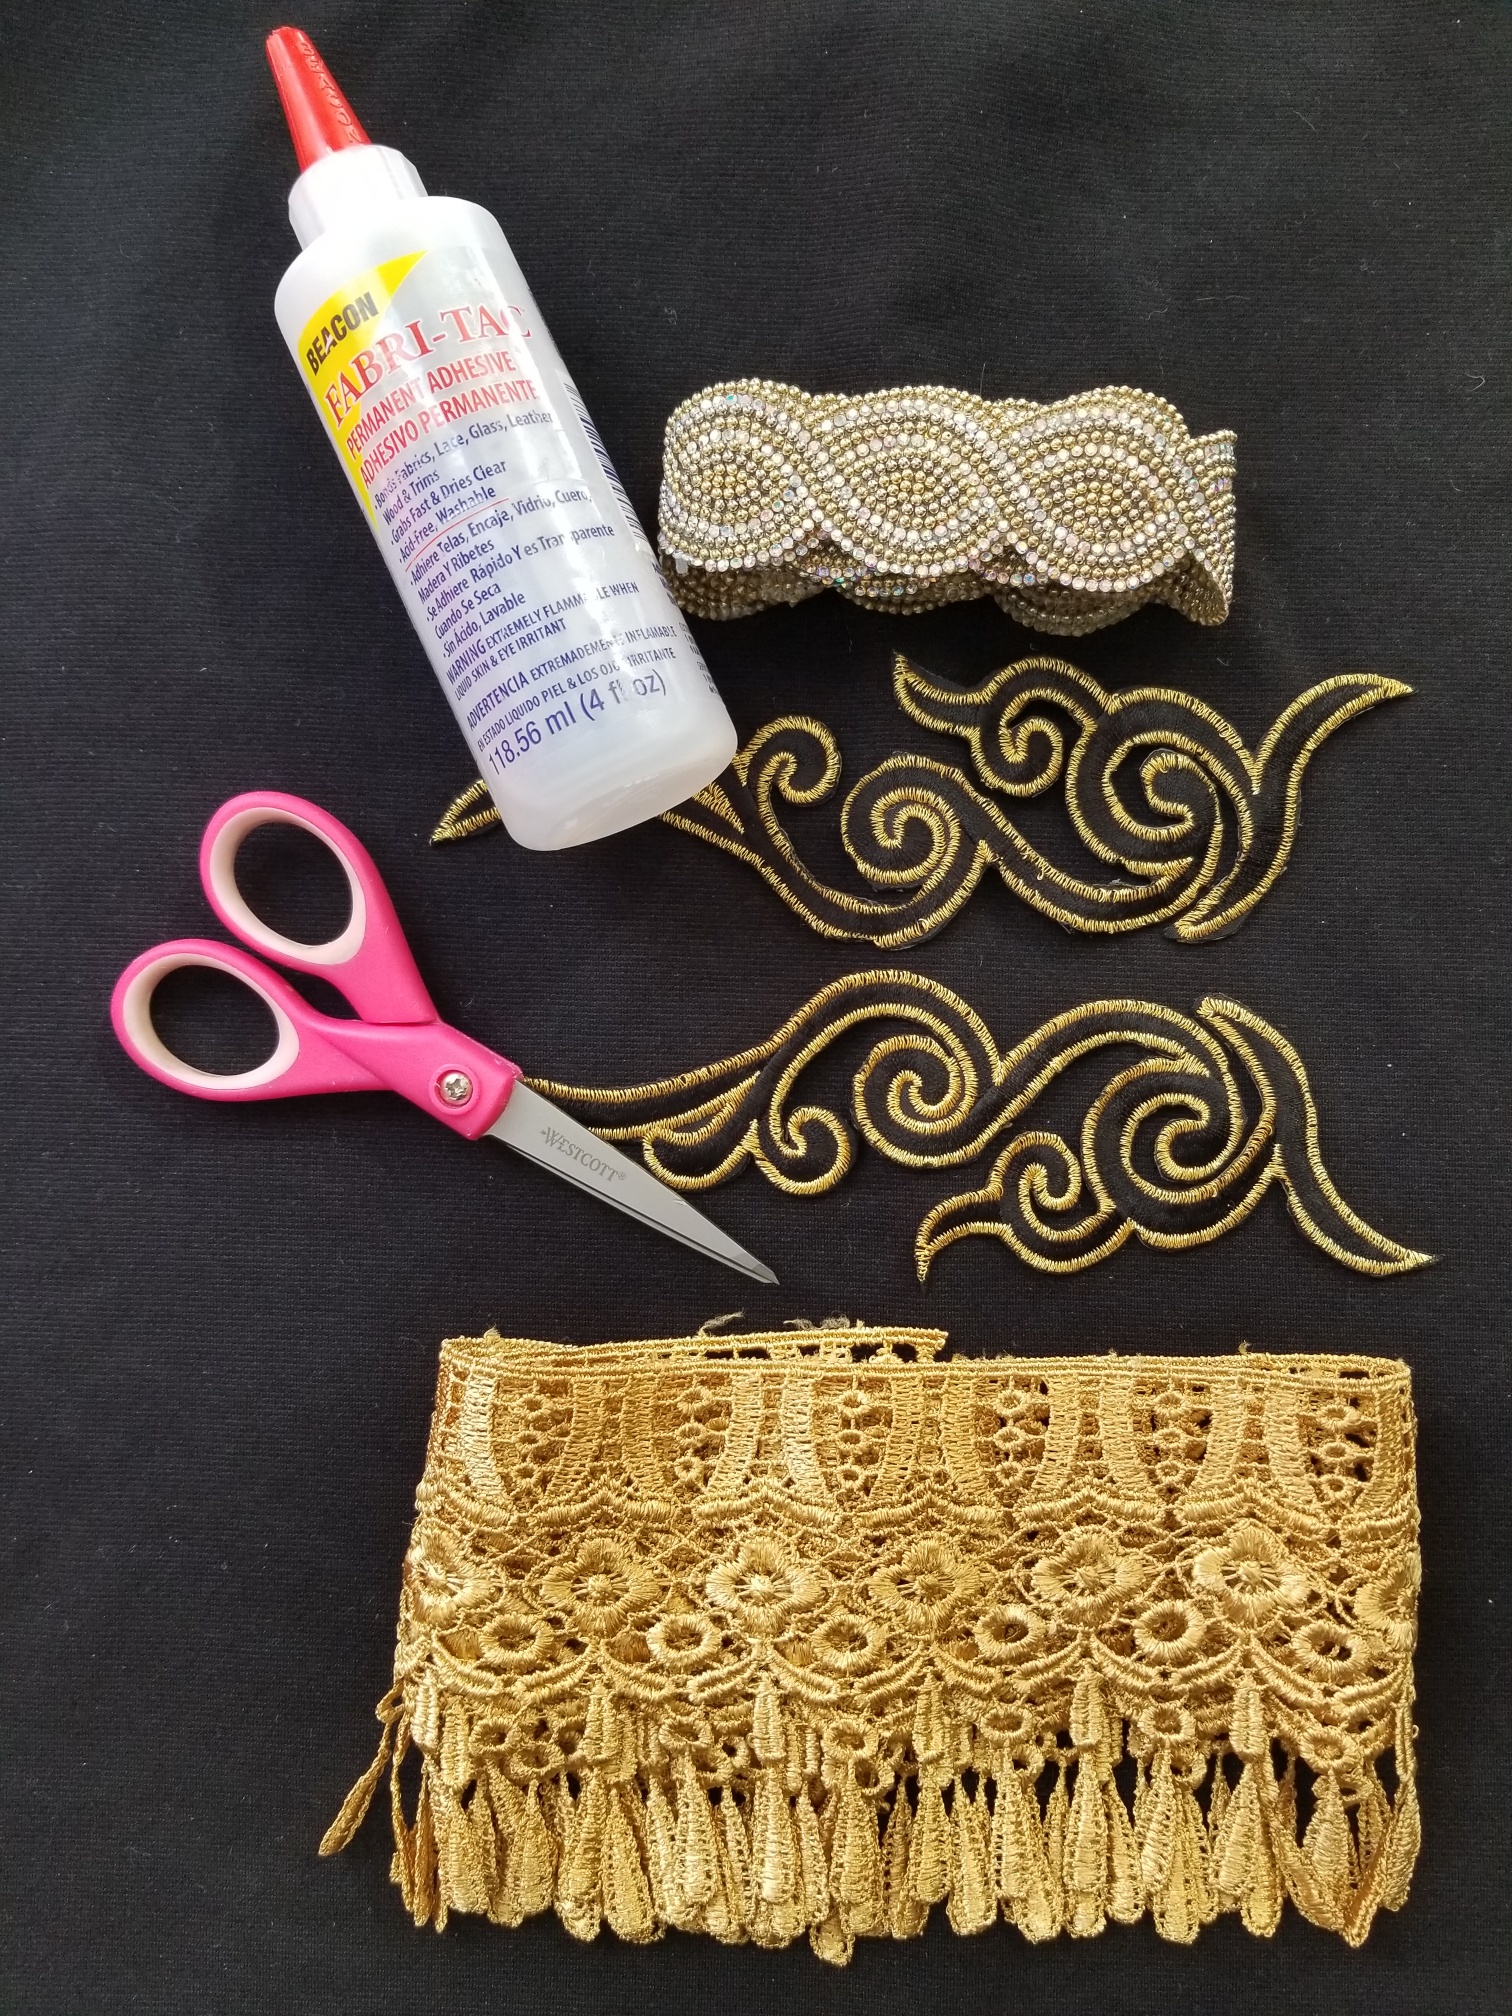
Basics supplies you will need. Garment choice if you are experimenting for the first time try a piece like a skirt or simple dress, top. TIP: Make sure garment is prewashed, sometimes the sizing used can prevent the iron adhesive from holding. Choose an article that lays flat and the fabric is a cotton, linen or cotton polyester blend. Iron, board, pressing cloth, ruler, chalk, scissors, clips (small clothespins will work). Many trims are Iron on but for those not I like Beacon’s Fabri-tac. It dries clear, pliable and washable.
TIP: Care of embellished garment. Most trims are colorfast and washable in cold water but for trims with glass or beads, hand wash is required. Choose a garment based on this like a skirt which is not laundered as frequently as other garments.
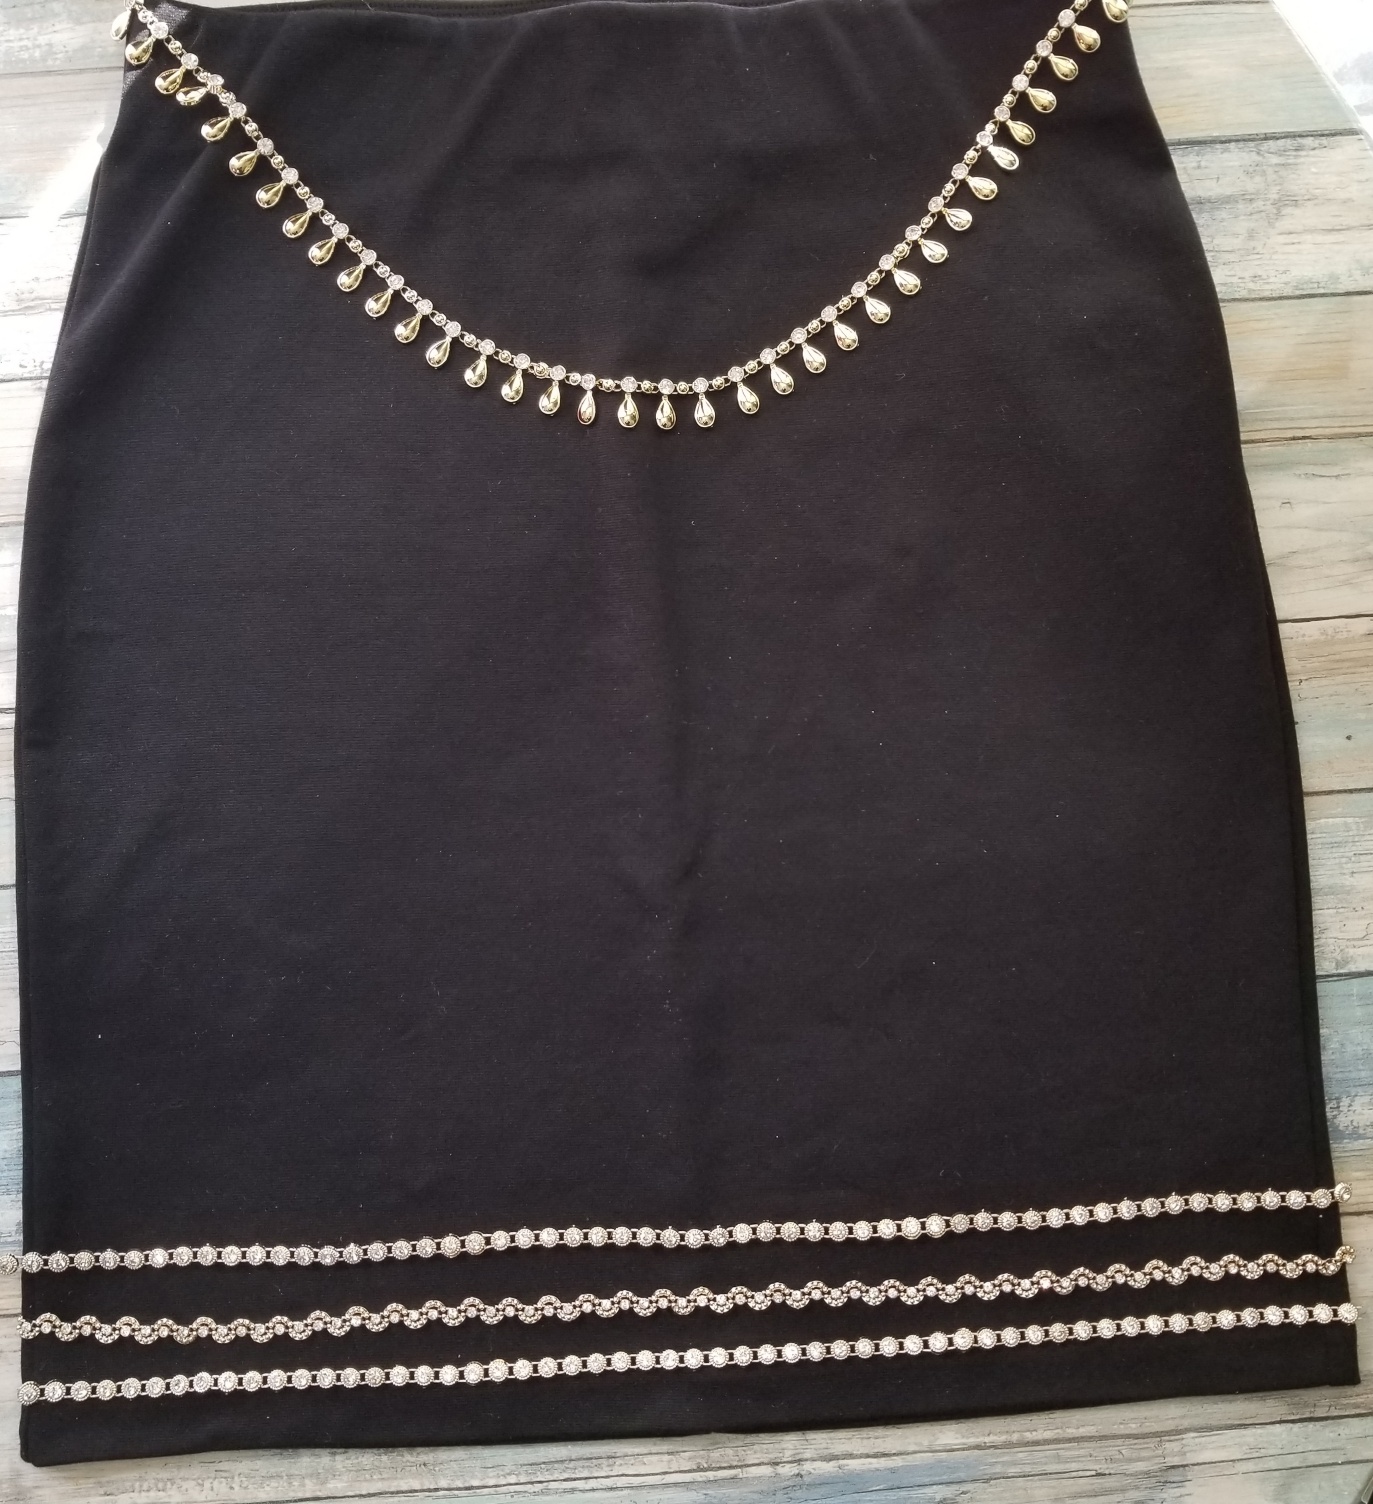
This version of the black skirt uses Artemisia Scrollwork Embroidered Appliques, Elizabeth Lace Fringe and Glass beaded Nico Iron on Trim.
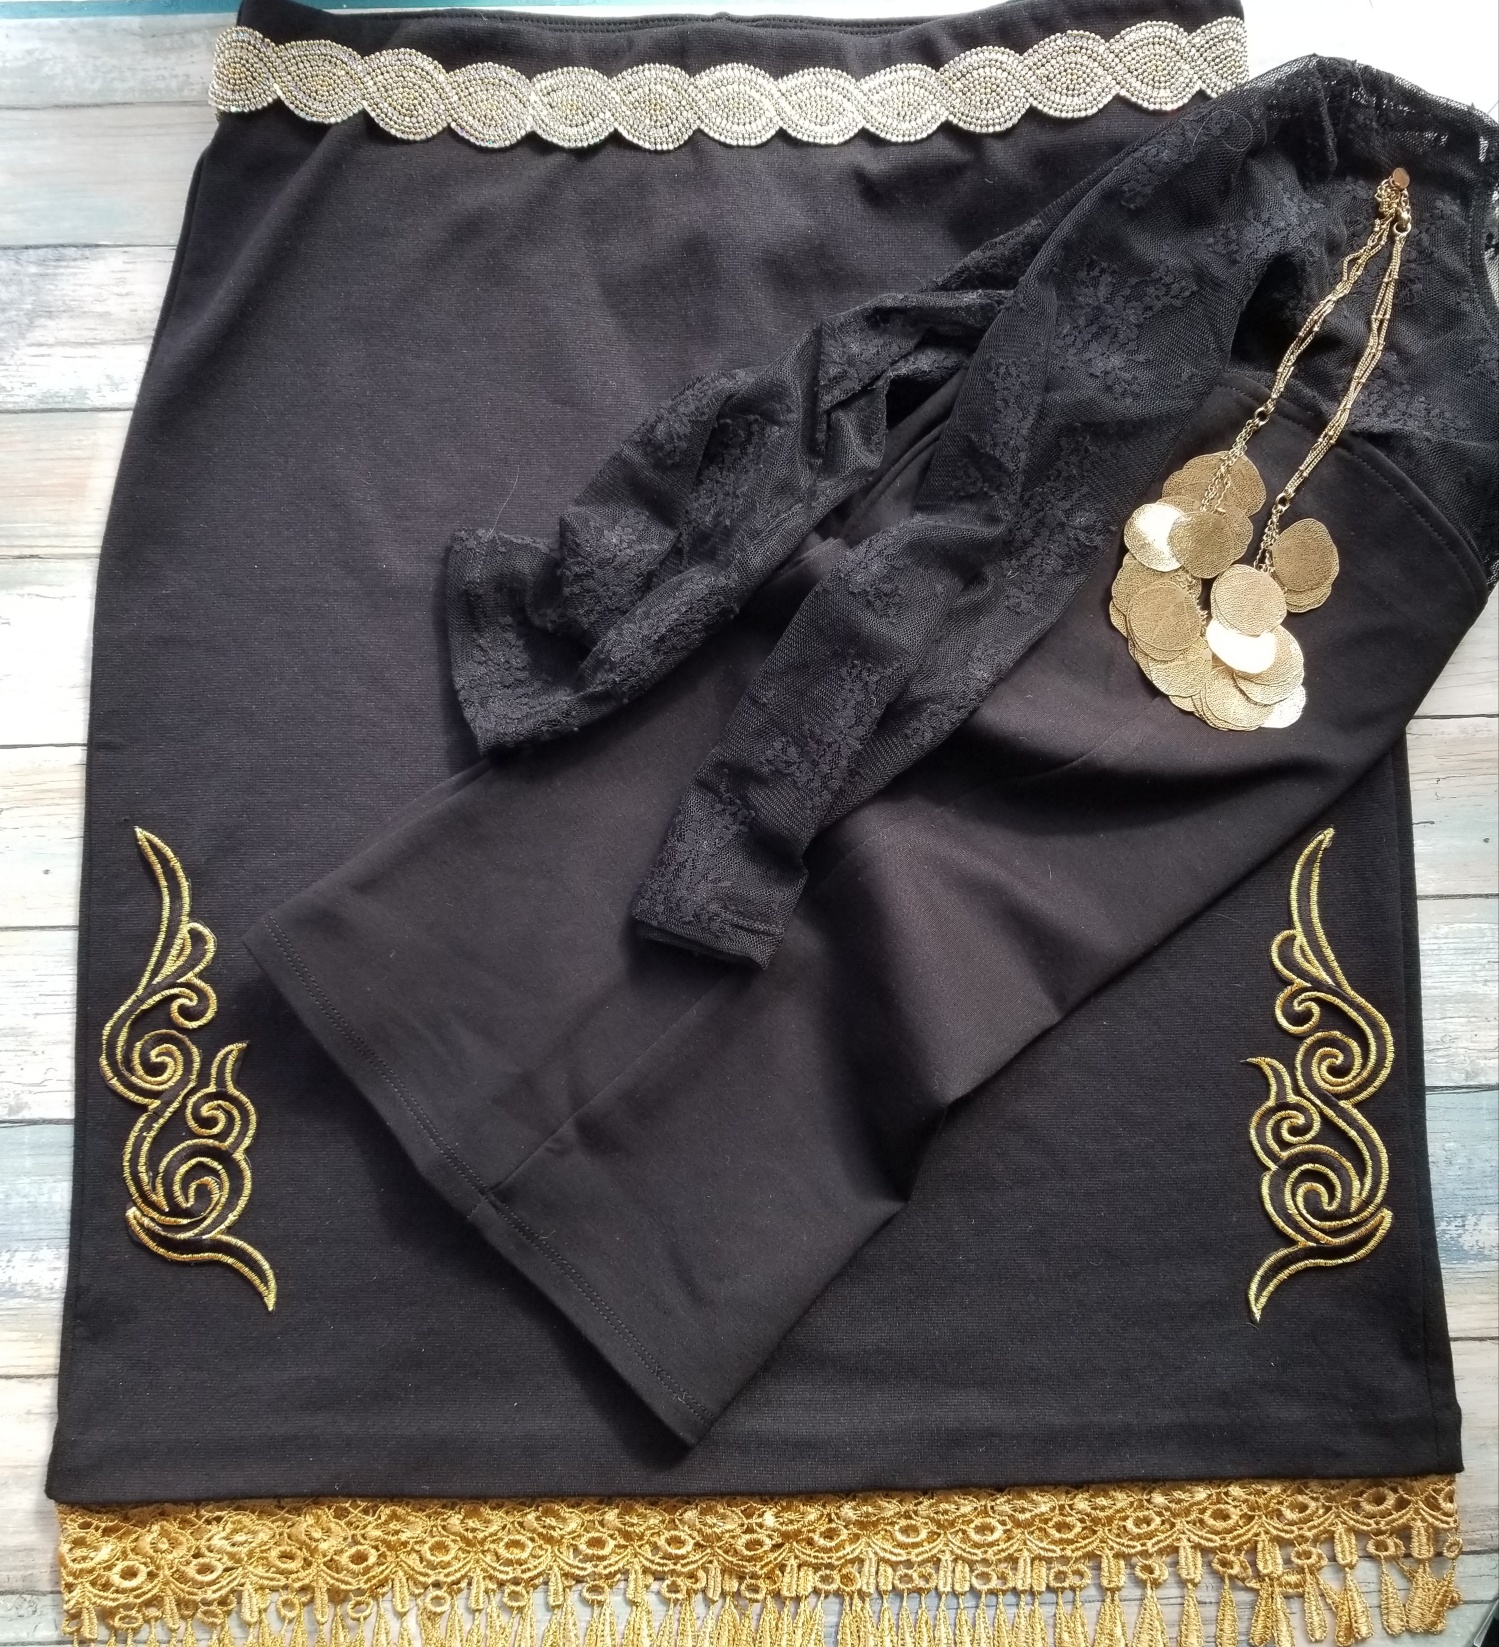
Before placing any item permanently, “audition” the trims by laying in place on garment. Use chalk or take photo to mark where trims are to be adhered. Applying the Scroll work applique. Make sure chosen garment can withstand high heat. Place garment on ironing board. Set iron to cotton/linen setting, NO STEAM. Cover applique with pressing cloth and press firmly for about 30 seconds. Let cool. Repeat for second applique. TIP: Make sure to apply even temperature to all outer edges of the applique. If a corner does lift a little, press again and let cool completely.
For the Nico Iron Trim because it is not a stretchy trim I used it only on the front of the skirt. The trim is a glass, polyester trim. Measure trim adding an extra ½”. Cover with the pressing cloth and press a small section at a time. Once adhered and cool, cut off excess. TIP: With patterned trims place chosen trim design element centered and then measure from center to the end of each side.
The lace I used the Beacon Fabri-tac to adhere. Turn the skirt wrong side out and mark a chalk line along the hem bottom. Again center lace in front. Measure leaving an extra inch. Place a thin line of glue beginning at center working with a small section at a time. Press lace into glue. It will dry quite quickly. Any strings will pull away or use a hair dryer to dissolve.
This version of the skirt uses three similar trims, Sparkle Heart Rhinestone Trim, Teardrop Trim and Curve Rhinestone Trim. All of these trims are applied with fabric glue. They are a combination of polyester and glass. Handwash garment only. These trims have specific elements like the hearts. These can be cut apart individually as well. TIP: Begin trims at the center of garment to get them to line up evenly.
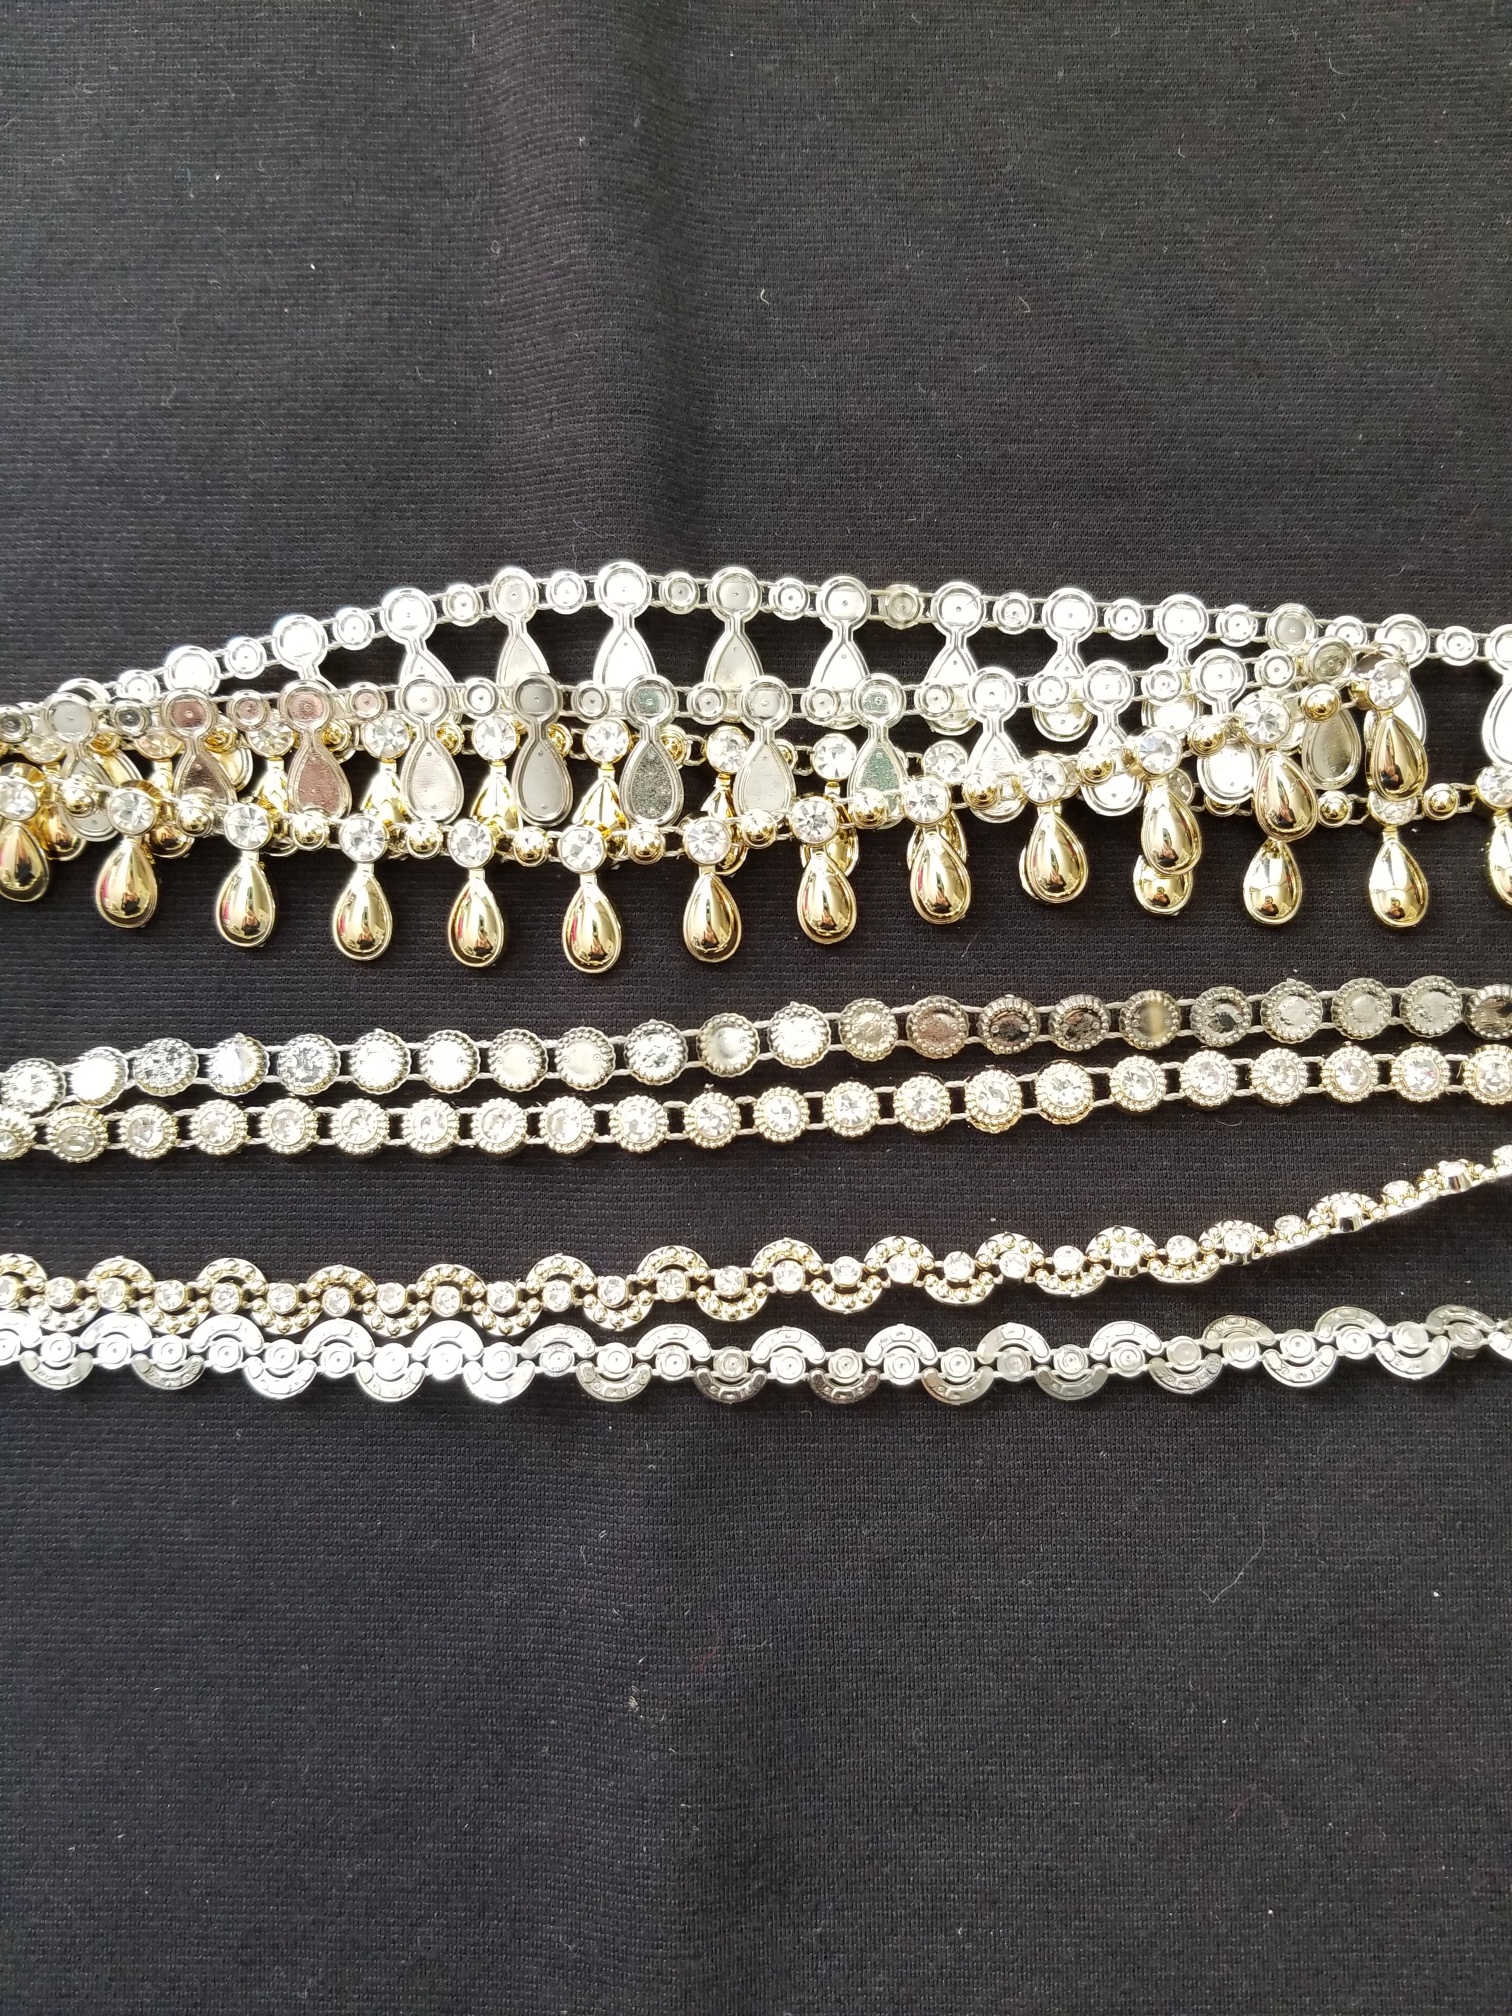
1 .Draw chalk lines to adhere trim to. Cut trims ½” longer. Glue in place along line with a thin line of glue on chalk line.
2. For dropped line of trim. Loop on garment. Trim to length desired. Glue at either side of waistband. Let center hang freely. (Tip: Trim between design elements.)
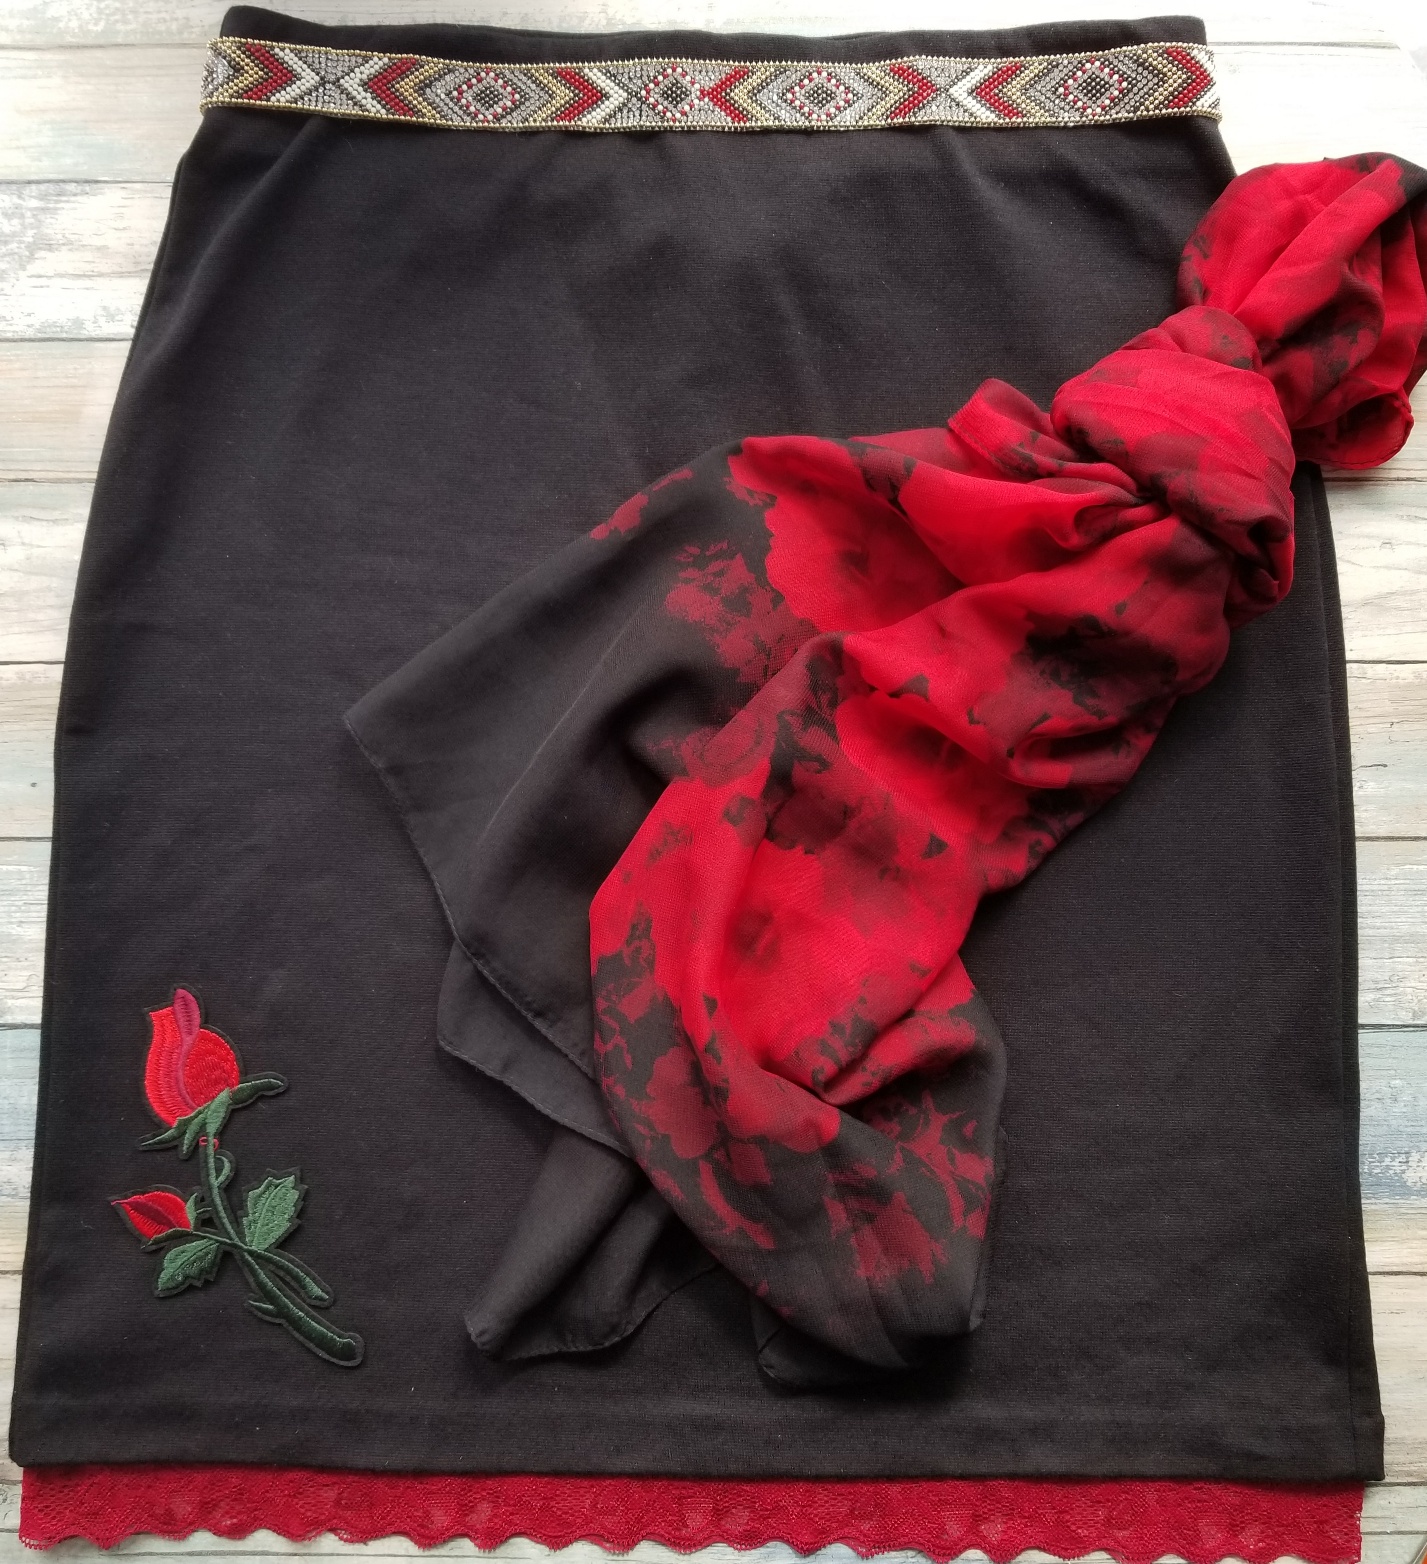
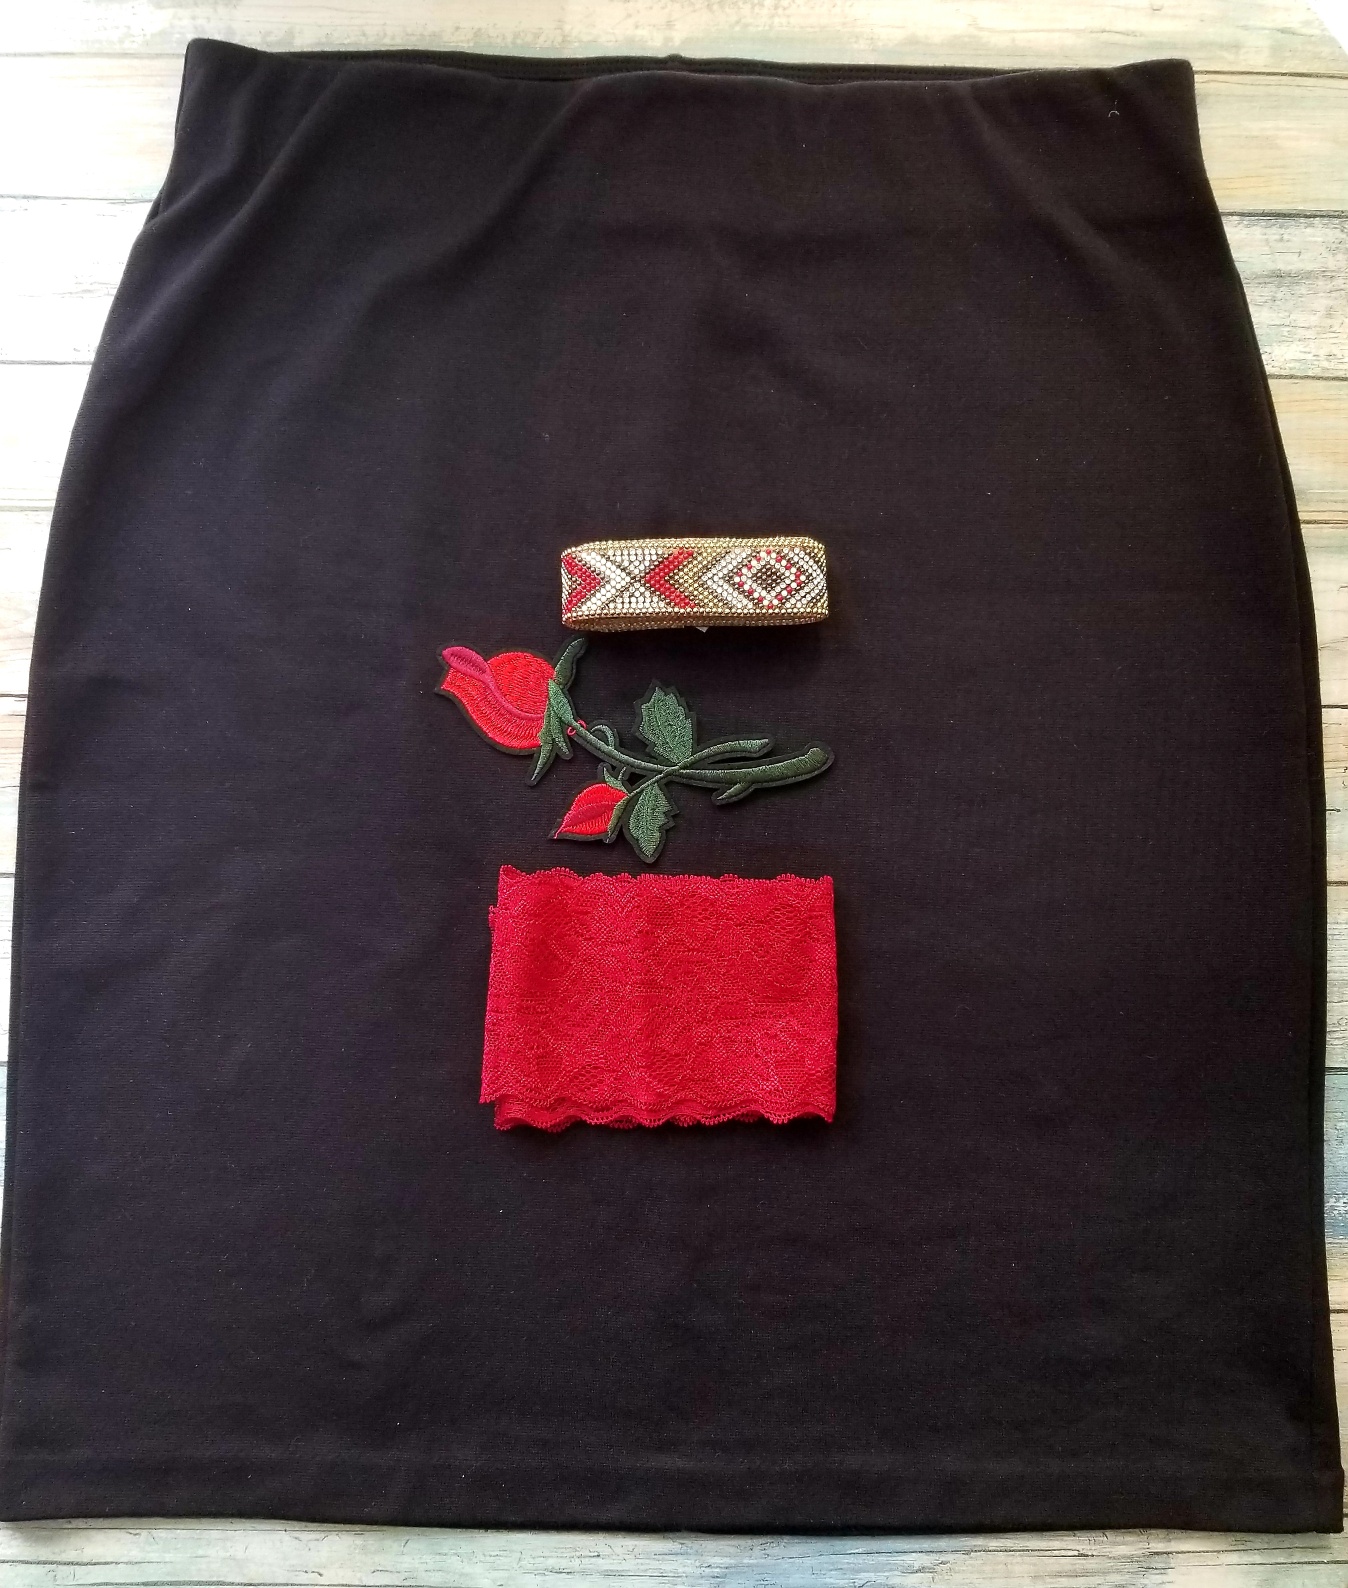
This look, well my favorite scarf needed a skirt and I love red! The trims used in this skirt are the Raschel StretchLace, Olowin Iron on Trim and Highland Iron on Rose Applique.
1. For the Olowin Iron Trim because it is not a stretchy trim I used it only on the front of the skirt. The trim is a glass, polyester trim. Measure trim adding an extra ½”. Cover with the pressing cloth and press a small section at a time. Once adhered and cool, cut off excess. TIP: With patterned trims place chosen trim design element centered and then measure from center to the end of each side.
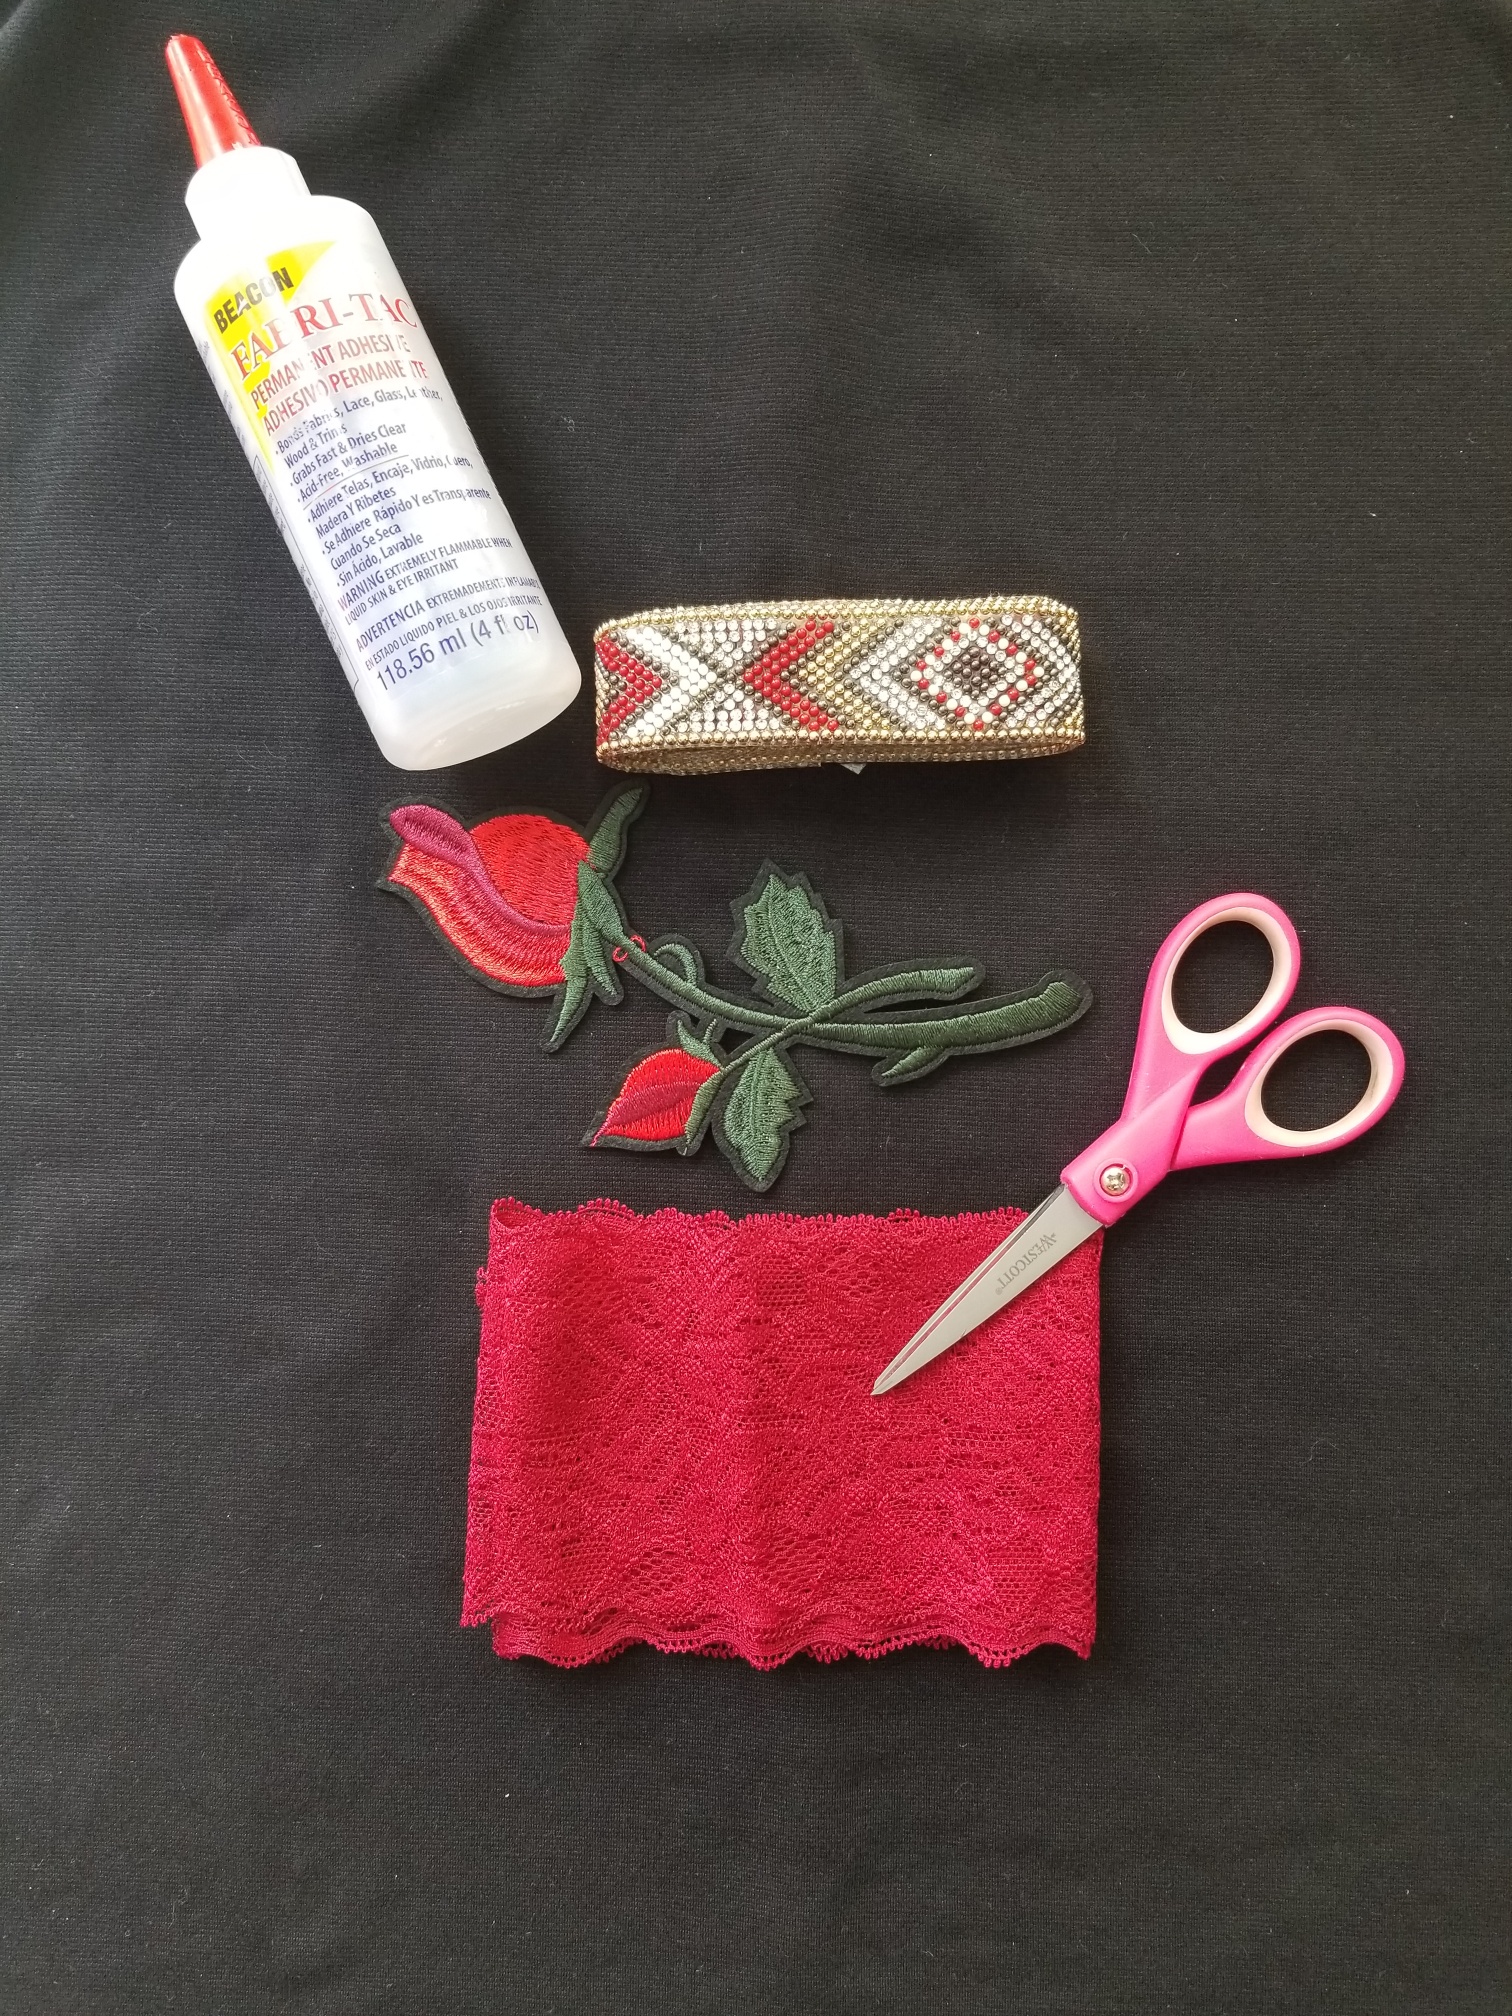
- 2.The lace I used the Beacon Fabri-tac to adhere. Turn the skirt wrong side out and mark a chalk line along the hem bottom. Again center lace in front. Measure leaving an extra inch. Place a thin line of glue beginning at center working with a small section at a time. Press lace into glue. It will dry quite quickly. Any strings will pull away or use a hair dryer to dissolve.
- 3.Applying the Rose applique. Make sure chosen garment can withstand high heat. Place skirt on ironing board. Set iron to cotton/linen setting, NO STEAM. Cover applique with pressing cloth and press firmly for about 30 seconds. Let cool.
One last TIP: When choosing trims always read the materials used and the care instructions. On our website they are included under each trim. There are also suggested uses. If you have any questions Customer Service will be able to help or send us an inquiry through FaceBook.
Every week you can find our Can You Trim It Tuesday where we share trims and
DIY looks three ways. We also have monthly giveaways too. We would love to have
you share your DIY fashion and home décor projects with us!
Follow us on all out Social Media to see what creative inspiration is happening!
Create, make & diy!
Debra
Debra Quartermain has been sewing and crafting her entire life. Author, licensed designer and blogger in the creative and sewing industries. Sharing her love of making and celebrating from her historic 175 year old home, a five star B&B in eastern Canada. Mimi to eleven grandlittles, there is always a crafty adventure happening.