Altered Art Chalk Painted Bottle with Whimsical Trims
Posted by Christie Troxell on Oct 26th 2017

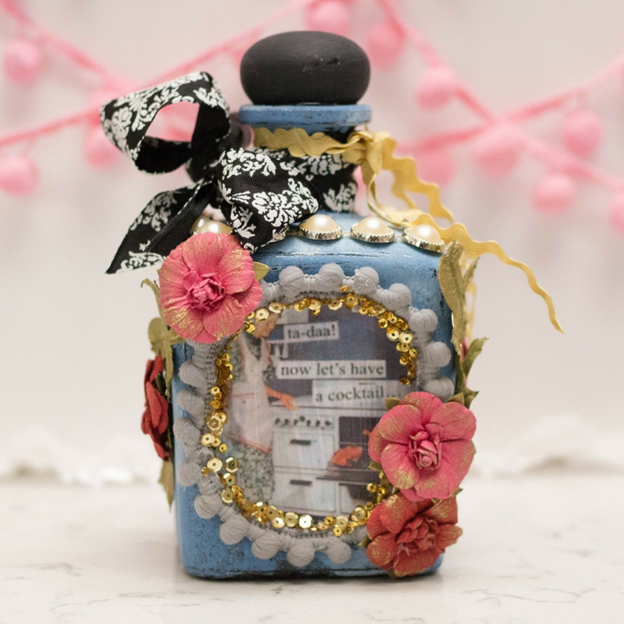
Altered art is a fun way to express your artistic side through the use of paint, paper, and decorative trims and embellishments. This pretty project was crafted from a repurposed bottle, made beautiful with chalk paint, humorous vintage art, and whimsical trims from Expo International. The finished bottle is a lovely addition to a vintage vanity, or place it on a shelf along with your other favorite vintage treasures and flea market finds.
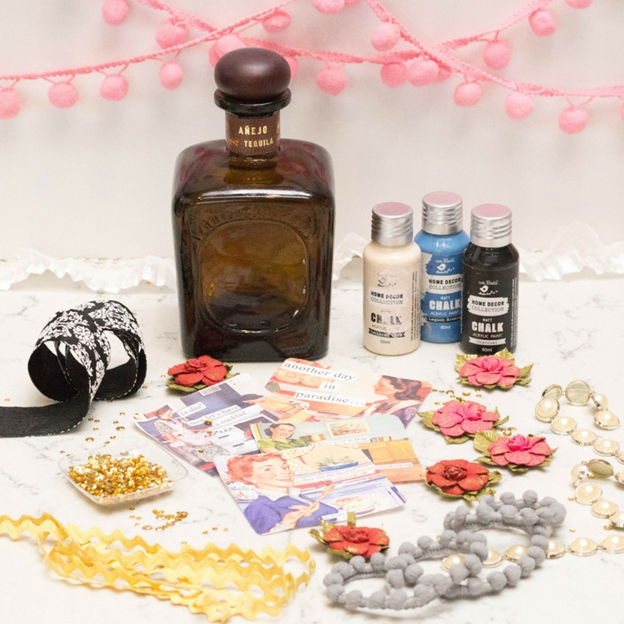

What You’ll Need:
- 1 empty bottle, rinsed and dried with labeling removed
- 1 printed piece of vintage art or postcard, trimmed to fit
- Lagoon Chalk Paint
- Black Chalk Paint
- Mod Podge
- Franky Pea Pod Pom Pom Trim, in Grey
- Meeka Flat Backed Gold Pearl Trim
- Rayon Medium Ric Rac Trim in Gold
- Decorative wired ribbon in black or black and white pattern
- Scissors
- Hot Glue Gun and Glue Sticks
- Paint Brush
- Sponge Brush
- Gold Sequins
- Medium Grit Sandpaper
Step 1. Remove the bottle lid and set aside. Paint the entire exterior of the bottle in blue chalk paint, like this one from Little Birdie Crafts, in Lagoon Blue.

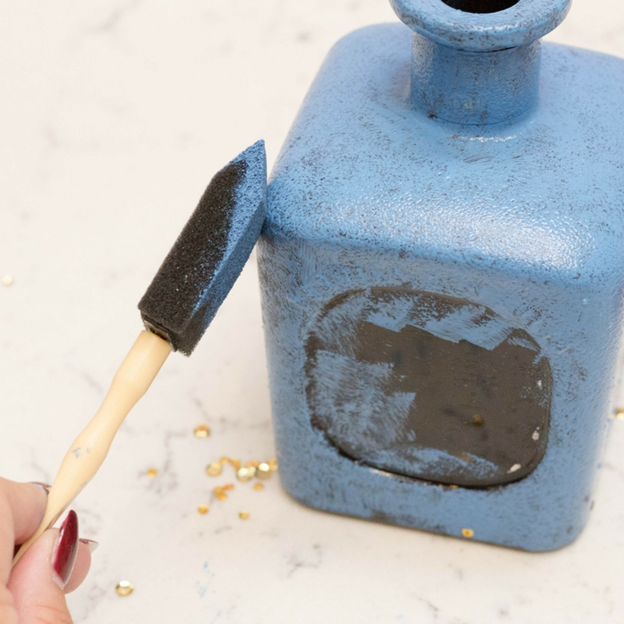
(Optional) Add a second chalk paint color in a lighter shade, such as Tattered Lace, from Little Birdie Crafts. Allow to dry thoroughly before advancing to the next step.
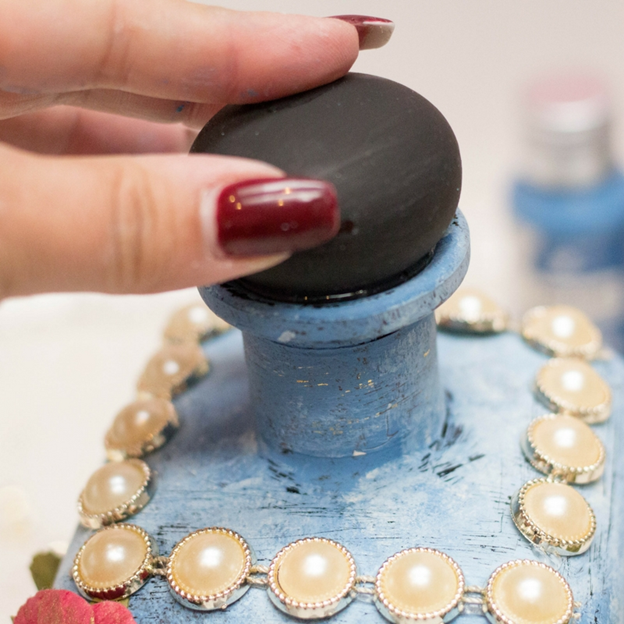
Step 2. Paint the lid of the bottle with black chalk paint.
Step 3. Apply Mod Podge to the front surface of the bottle, to just the area where the colorful art will be adhered. Apply the art to the area and press to adhere.

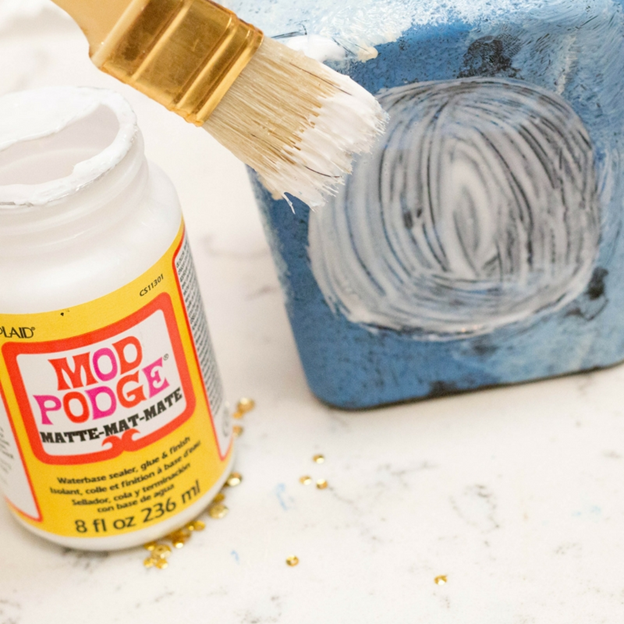
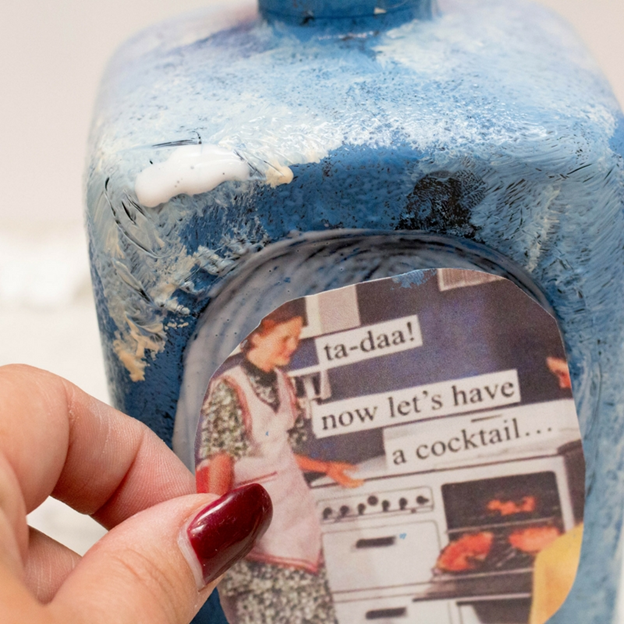

Step 4. Cover the top of the art with more Mod Podge. If using art printed on an inkjet printer, take care to avoid over brushing or the colors may run together.

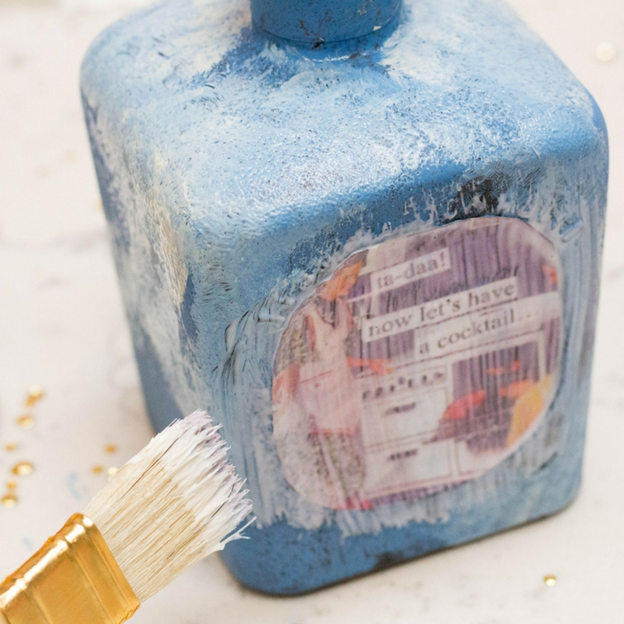
Step 5. Use a scrap of sandpaper to gently sand the bottle to achieve a distressed finish that is pleasing to your eye. There are no rules to this, just work at it until it looks good to you! If you overdo it; not to worry, just apply more chalk paint and rework the section.


Step 6. Apply Franky Pea Pod Pom Pom Trim, in Grey to the outer edges of the art, as shown.

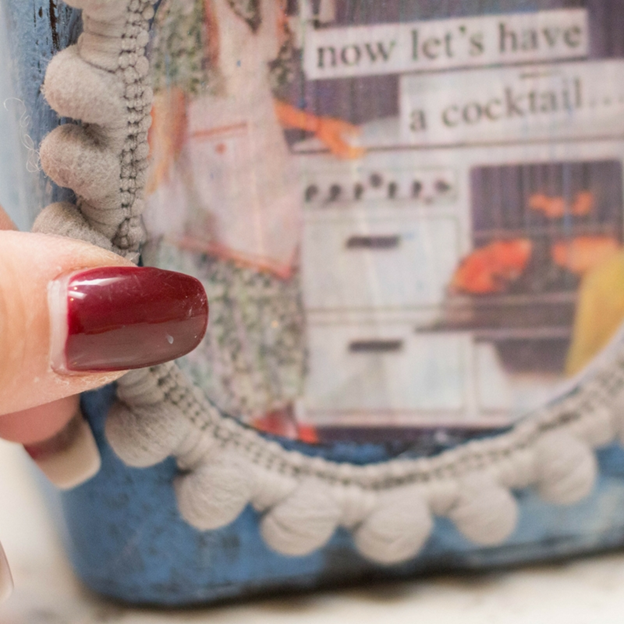
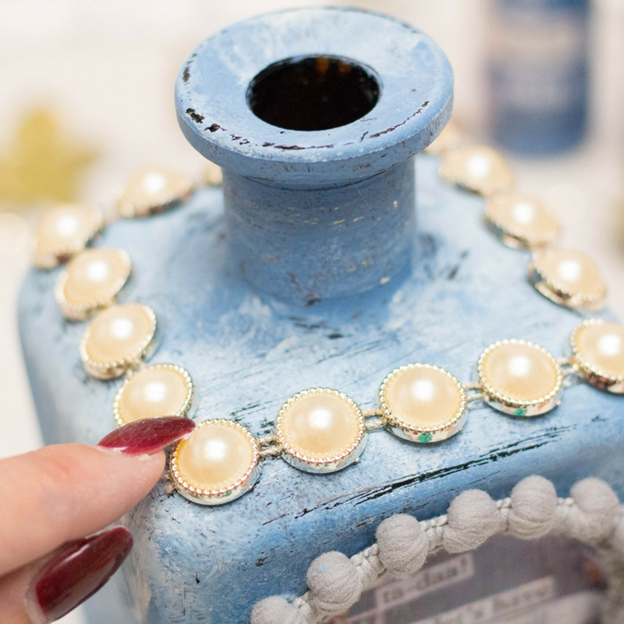
Step 7: Apply Meeka Flat Backed Gold Pearl Trim to the upper perimeter of the bottle, as shown. (Optional: add gold sequins to the inner rim of the pom pom trim for a dazzling effect! Don’t you just love a little extra sparkle?)

Step 8. Add brightly colored paper flowers to the bottle, clustering in groups of one and three. These Victoriana Flowers from Little Birdie are a personal favorite!


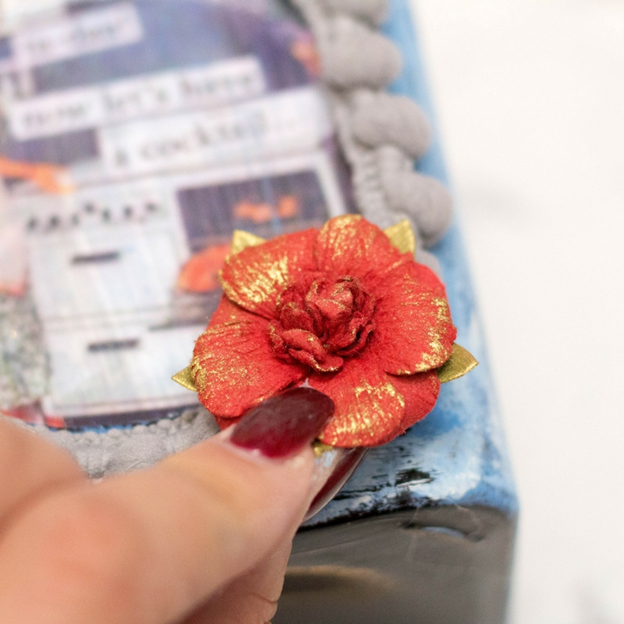
Step 9. Glue the bottle lid back into the bottle, then tie the black ribbon around the neck of the bottle, offset to the left, as shown.


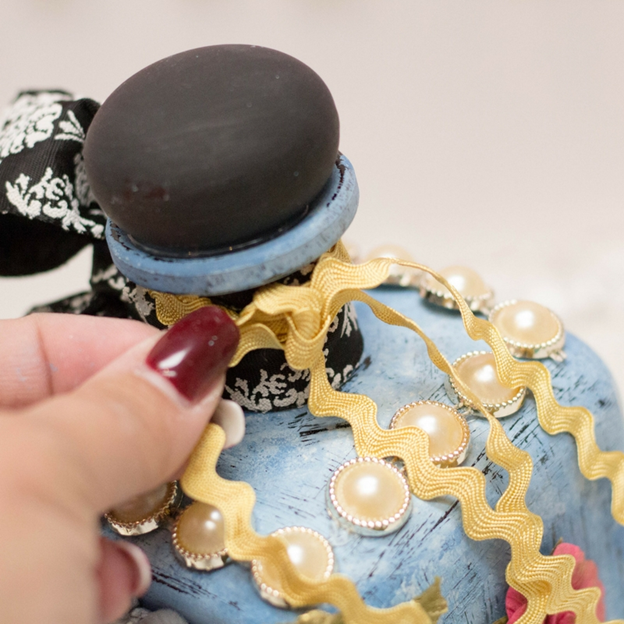
Step 10. Add Rayon Medium Ric Rac Trim in Gold to the neck of the bottle, offset to the right, for a little added pizazz!

Display your completed bottle with other pretty items such as perfume bottles, vintage vanity items, or anywhere in your home that could use a pretty, decorative touch. This DIY home décor piece also makes a great gift, and the art can be personalized to any taste.